Thursday, June 20, 2013

Community Furniture Project

Students in my Media and Design class have been working on our "Furniture Design Project". Using  the design process students are challenged with the following essential question:

"How can we design and manufacture furniture for a community common space?" 

This project stems from a crazy idea I had a while ago where I'd like to see students use sketching, modelling tools and full sized machinery to make furniture. Now its becoming a reality.

Curriculum
This project is scheduled to take 8 weeks. We are scheduled to finish in the last two weeks of the semester to finish mid June. The outcomes for this project are from DES 1030 (3D Design) and DES 1050 (CAD 1). Essential tools are paper, cardboard, glue, pencils, plywood and Sketchup.


Inspiration
Students started with sketch ideas and seeking inspiration. We created Pinterest accounts with furniture design as the title of one of our boards. Here's mine. Students then spend a few days sketching out ideas for their furniture. By the end of the 3 days most students had made up their minds as to what kind of furniture they were going to make. Students were put into design teams to present their sketches and have discussions about their design, inspiration and seek input from others. We call this getting a 'reality check', and it happens after every step in the design process.

After learning about the CNC machine we had bought, I had to narrow the focus of our essential question. Making furniture with a CNC machine in 8 weeks is not easy task, and if we were going to get to making REAL chairs and tables, I had to guide them further. The style of furniture we were now pursuing for inspiration was flat-pack furniture. Students researched what this term meant and investigated how IKEA is one of the innovators of flat-pack furniture. I also wanted them to see that flat-pack furniture didn't necessarily mean we all had to make our pieces the same style.

We found inspiration is James McBennet's Fabsie project which I had backed on Kickstarter earlier in the year. Among others, James is working on a unique method of manufacturing that is more efficient, and is environmentally friendly because instead of having a large warehouse and shipping goods long distances around the world, you share digital design files with local manufacturing experts in close proximity to the end consumer. These local experts use the design specs for the CNC machines and manufacture a piece of furniture from it. The shipping costs are lower, less jet fuel, and gas used to deliver it and it supports local businesses! Plus there is no overhead to maintain in a big warehouse. The files are often only a few dozen kb in size. It's a great model!

So we narrowed our focus:

"How can we design and manufacture flat pack furniture for a community common space?" 


Build to Think

This is becoming a bit of a buzz word in my class but it is a really important step. Students used scrap cardboard to make an early prototype chair. It helps bring their 2D sketch into something tangible. Each student presented their cardboard model. Peers would comment on their models. "I really like" and "Have you thought about" are our two guiding phrases for feedback.

Research, research and more research.
This project had so many opportunities for students to investigate. We started with inspiration and ended up talking about design standards. Students guided the learning as we went along. We spend 3 whole days on design standards and measuring furniture in our school. It was important to let the students find out what they needed to know and guide them when they were getting stuck or hung up on things. By the end of the project we all knew the design standards for chairs and tables and students were using this in their everyday conversations.

Reality Checks
We've had a lot of them. Reality checks have taken many forms during this project. Some have been what I'd call 'formal'. These are teacher directed reflections that students were required to complete and blog about. One other form of reality was also teacher directed but student facilitated. I would pose questions (such as asking students to check seat heights against the design standards) and students would go to each other's workstations to have conversations about their designs.
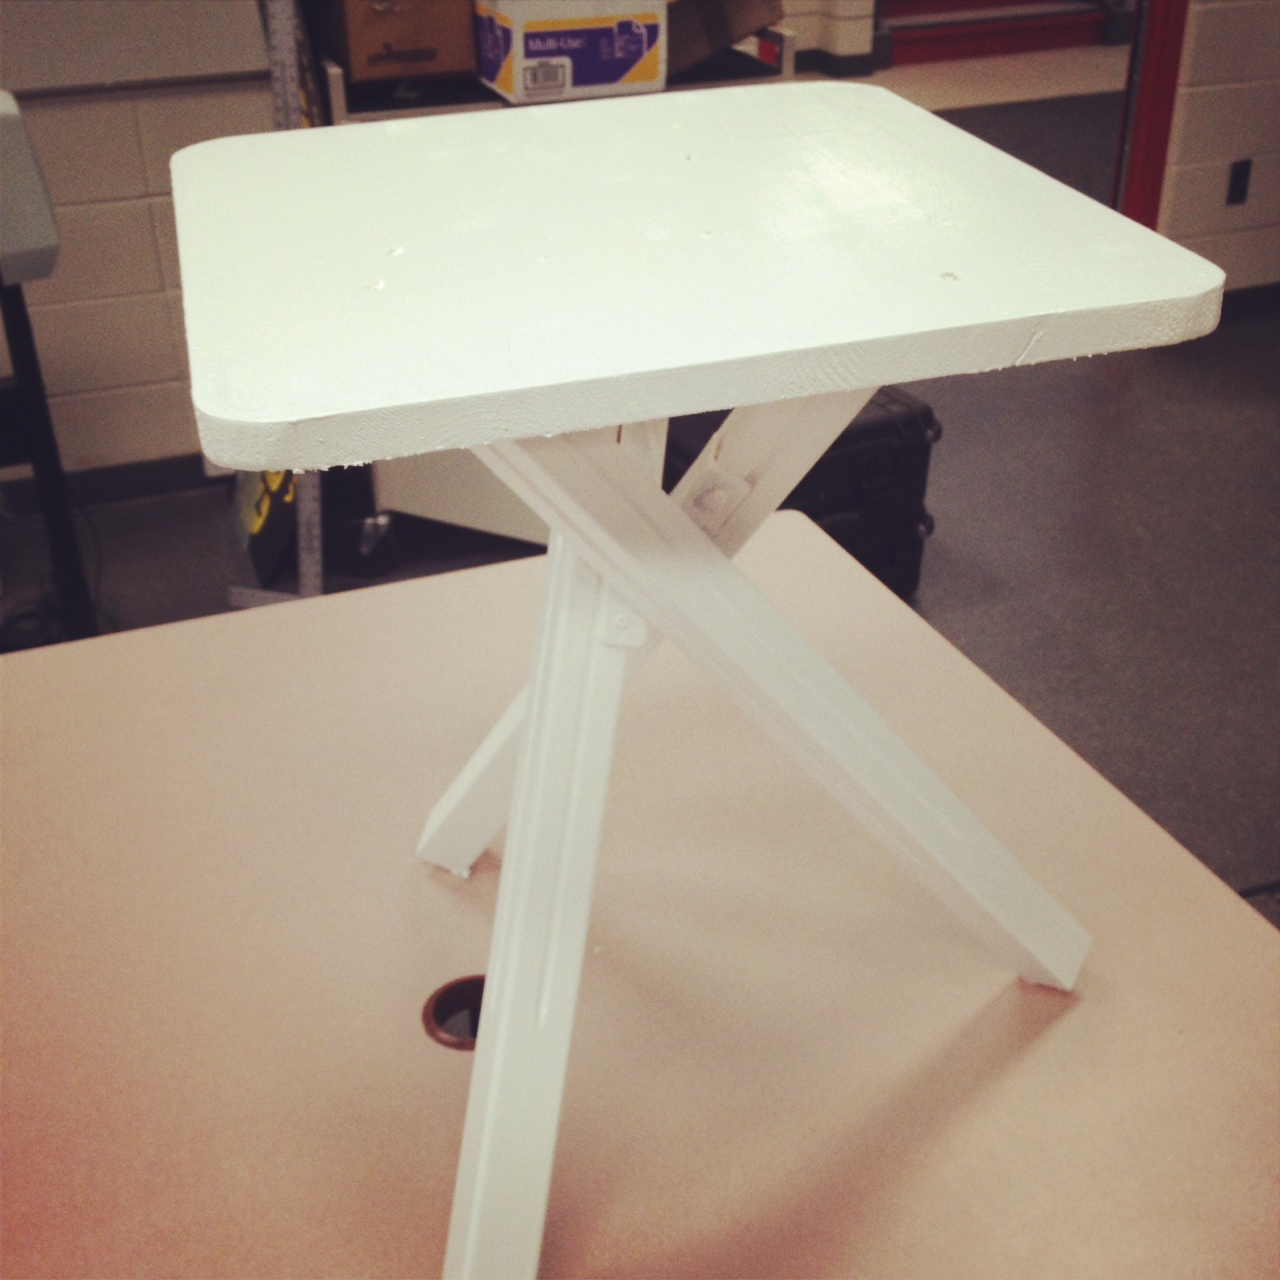
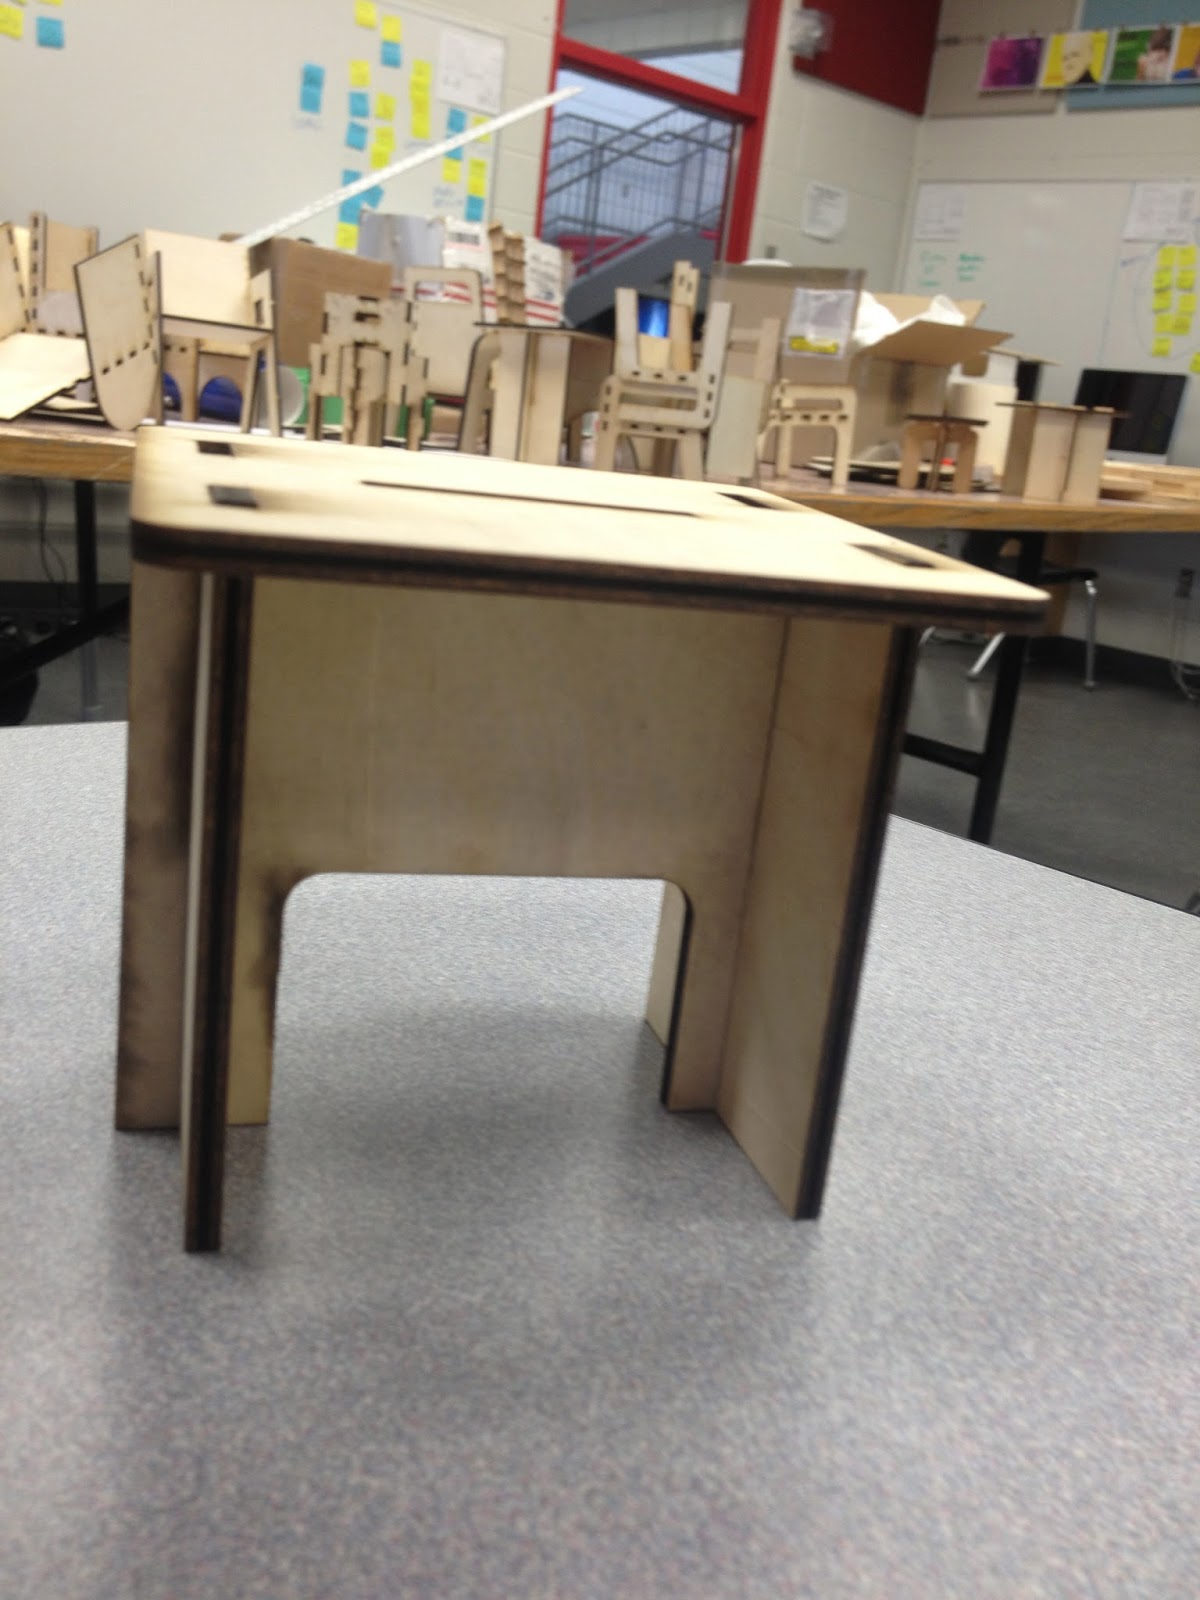
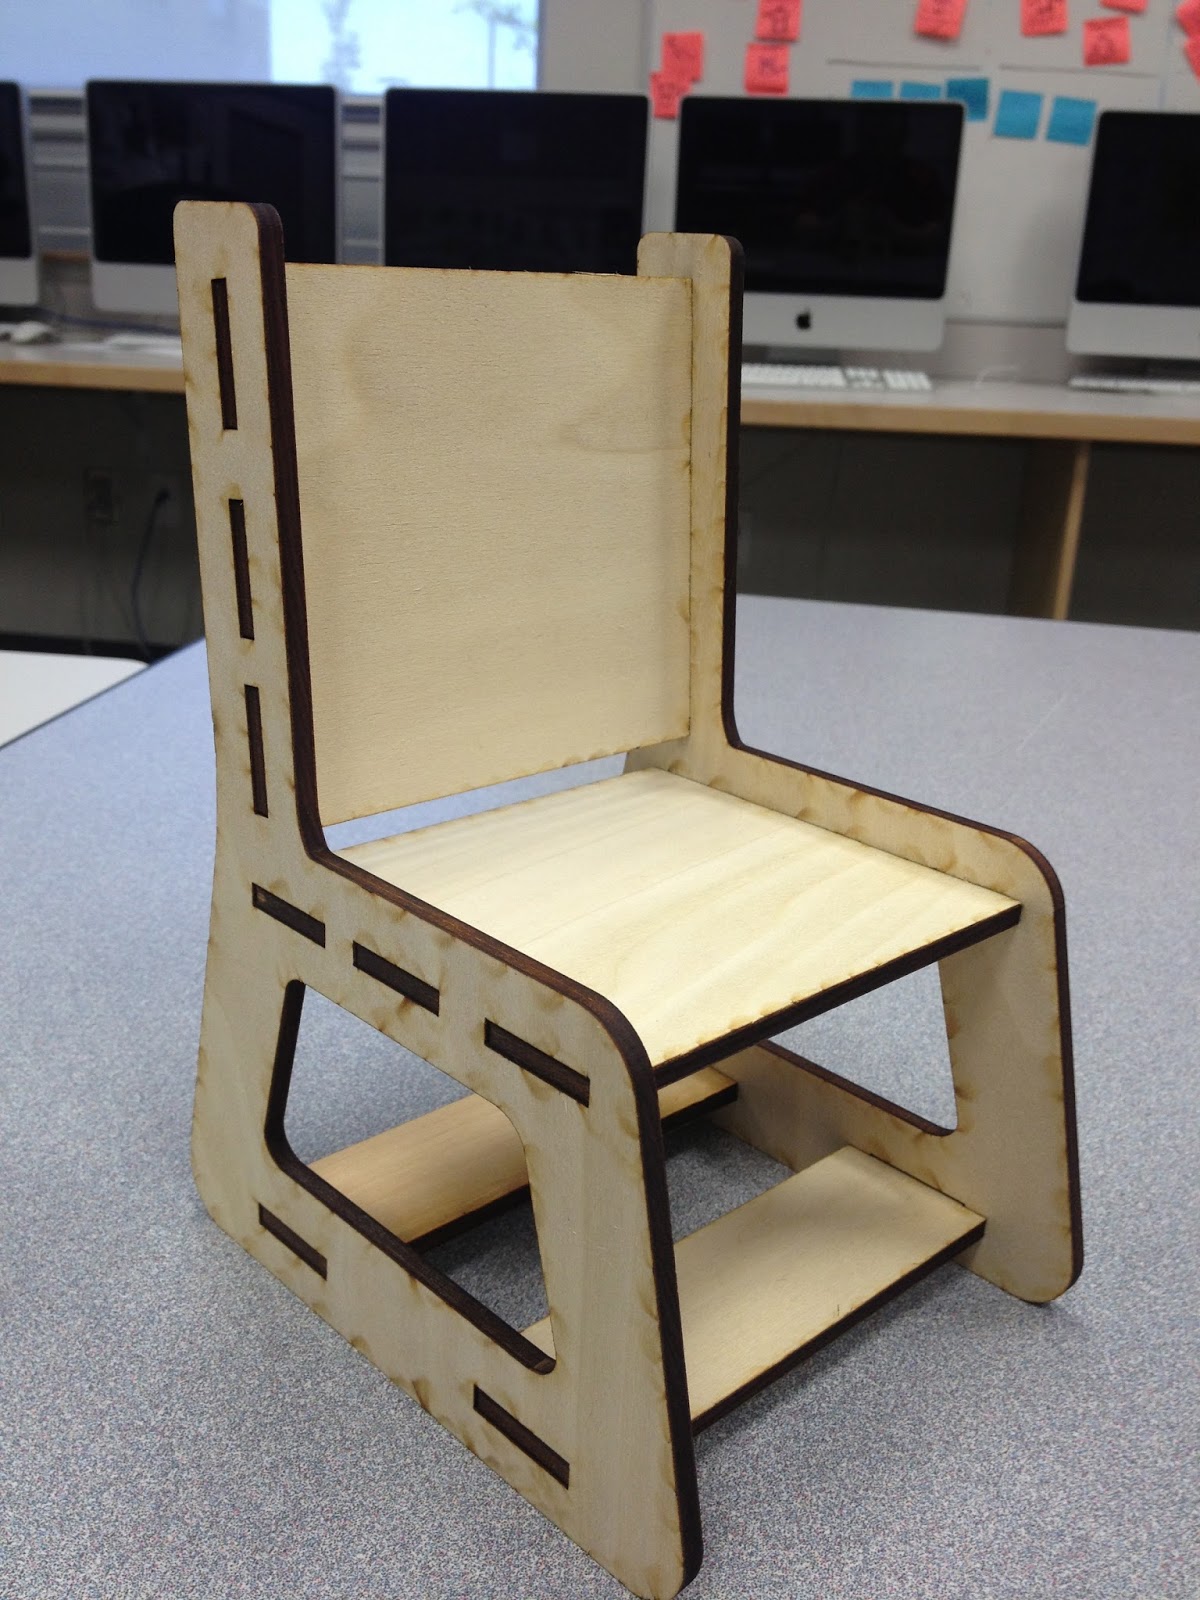
Prototyping
After students made physical models they spend at least a week just on modelling in Sketchup. I gave an introductory lesson one class on sketchup, and introduced another research topic which was common joinery techniques in flat pack furniture. Cardboard models turned into laser cut models with thin birch plywood. My classroom began to look like a doll furniture factory. Discussions of strength, form and function where happening everywhere.

I'm learning about manufacturing and prototyping right along side of the students. I even started to sketch out my own chair design and made a couple lasercut models. Seeing my idea go from a sketch into a model is really neat.


Update!
After 8 weeks and several phases of prototyping including full size prototypes from lower grade plywood, the project was completed! We used our Shopbot CNC machine extensively and lived in the shop for the last 2 weeks of the project. There was a ton of finishing work to do!


 Overall there were 6 pieces of furniture that were produced in teams. We had a celebration and grand reveal of the furniture at the Cold Lake Energy Centre attached to our school with several board members, management from the recreation centre, and a reporter from the local newspaper who did a pretty good job of telling the story. 

The most gratifying aspect of the project for me and my students is that these pieces of furniture will be used for many years to come.


Monday, April 29, 2013

The Wikiseat Project: So Much More Than Just a Stool

The Wikiseat Catalyst
Students in my Design class have been working at home for the past 4 weeks on their Wikiseats. The Wikiseat Project in short is to take a piece of welded angle iron call the 'catalyst' and make a seat from this platform, but it's so much more. 

"WikiSeat explores the possibilities of new teaching methods in core subjects such as science, mathematics, English, and literature, or any other educational application. The Catalyst is geared towards bringing tangibility to intangible concepts, while simultaneously challenging students to think smarter about the problems their generation is faced with.

Every student is provided with a Catalyst (the structural support for a chair), with the goal of building a functional seat.  The student is tasked with finding materials and developing the skills for building on their own. Along the way, the intention is for the student to collaborate with their community, and to be introduced to new opportunities for learning." - wikiseat.org 

Inspired by Many
Brayden's seat for his sister
I was inspired by Nic Weidinger's passion for something that on the outside seems so simple, but in actuality is very complex. There are so many interwoven human, interpersonal elements and physical design components. He was so supportive that he even send me a jig so we can make our own catalysts! This has prompted me to seek out students in our school who are going to weld them for classes in the future. I have never done any welding so I'm actually going to be learning from my work experience student in the coming weeks. My oh my how the teacher has become the student. I hope that we can get the iron donated and then we can make extra catalysts to give away to other schools who want to do the project. 

I could write a whole post about the work of Mr. Sean Wheeler and his literature class' work with the Wikiseat project, but I know I wouldn't be able to capture a fraction of impact that making Wikiseats has had on his students' lives.  I've talked with him and stalked his blog and taken so much from his sage advice. So, you MUST check his students' work out. Thank you so much Sean for your work and the inspiration your students have given mine! 


Curriculum 
The Wikiseat project is the way my design students will be demonstrating their understanding of the design process. The one caveat of the project is that the seat they create must be for someone other than themselves, and it must solve a problem, or fulfill a need for the recipient. Empathy becomes the root of their designs. They have to truly process and understand the needs of the recipient to make a seat that is useable. 

I have started developing a student guide to take with them as they use the design process to make their Wikiseat. I'd happily share it with anyone! It is available to adapt, edit, change to meet your needs. Just email me (coolpoolteacher (at) gmail.com) and I'll send it to you right away. 
Ryley's seat for his mom


Wikiseat Materials 

Many teachers are asking what are the best materials to make the Wikiseats. Truth be told I really don't think it matters. In a way it's not even really about the Wikiseat! (More on that later).  I encouraged students to scrounge materials and not spend very much at all on the project. Most used scrap lumber they found in the scrap bins in our Industrial Arts Lab (yes we are very fortunate to have one in our school). Others spent $4-6 on bannister spindles which seem to work very well for strength. Paint was scrounged for most students as well. Some teachers might choose to tell students in the design brief that they MUST scrounge materials, it might at another 'recycling, re-using' angle to the project. 

It's NOT About the Seats
I have been telling students that I can't wait to brag about their amazing work. About 1/3 of my students are still working on the project to wrap up this week. I haven't been stressing out them not getting them in on the 'due date'. I'm sure all of them will be in shortly. What I'm wanting them to focus on if to communicate how they have used the design process but telling the story of their Wikiseat build, and how they made the seat to meet the needs of someone else:  

Julia's seat for her mom
"I decided to make my stool for my mom and she wanted a stool for her scrap booking table in our basement. She wants the stool because she cant find stool's that are tall enough for her so i'm making a stool that is a little taller than regular stools."-AJ

"[My twin sister] needs a wiki seat to express her inner fashoninsta that makes her feel awesome man!- BRANDEE

"For mine, I am making the seat more for a wider group, I had difficulty thinking of who to talk to then I thought of who visits the most, and my neighbour came to mind."- BRAD


"The probem that I tried to solve was that [my mom] was fifty, so when we go to the gym she gets really sore for a while and is really tired afterwards, so I wanted to make her a chair that is comfy to sit on so she can rest." RYLEY

Unofficial Curriculum
AJ's seat for his mom's scrapbooking table
One unintended but amazing result from students working on their seats is all of the stories I'm hearing from them. This is the 'unofficial curriculum' the learning from their parents, friends, grandparents etc. I'm really looking forward to students' summary blog posts to hear all about how and who they built their seats with. One student AJ beamed about all of the learning from his grandfather because his grandfather was very precise when they were working together. This is one project were I really loved the face that students got help from someone at home! 

To Be Continued
I'm waiting for 5 more stools and then we are going to prepare a Wikiseat exhibition at our school's annual coffee house talent show and fundraiser. I will share students' post project blog posts where they will be summarizing their learning. I can't wait to share students' stories with the rest of the school and community! More sharing to come....


Tuesday, February 26, 2013

Sketching a Moon Man

Students in block 1 Design class have been working on many different types of sketches. Today I shared with them a sketch that was done by my day circa 1973/74 when he sketched and animated a moon man walking. He captured each of the drawings with his super 8 camera. I'm going to try and get a copy of it from him to share as well. For no, here's the moon man.


Sunday, February 3, 2013

Inspirations Everywhere: DIY Sketchbooks in the Classroom

Introducing Design 

One major focus of Multimedia and Design class this semester is for students to sketch and sketch often. We have a sketch a day where I give physical, visual and auditory prompts for students to respond to in sketches. I think that sketches are the foundation of designing.

On Friday I had a 2 hour Google hangout with Fred Galang. This conversation had so many topics that it deserves a post on its own, but what came out of it for me is a totally new look on connecting the curriculum to creative student work. Fred's students are constantly sketching and I really took that to heart. Fred was so generous with his time and advice,  I am trying to internalize a lot of it, but I know it will be invaluable as I start my class this semester.

Sketchbooks can be made from anything, and for about 8 bucks you can get a coil bound book at Staples that will do a fine job. Lately I've been looking at the world and thinking that instead of buying something like a sketchbook, I should make one. One important tenet for Fred is to ALWAYS do a project before you have students do it. This was definitely one of those tasks that I needed to see the project from the other side to gauge difficulty as well as time needed, and how well the it will meet the outcomes in the Design modules.

How To's to the Rescue

I simply searched "DIY sketchbook" and was introduced to a ton of resources.

One site on Youtube that was the most helpful was from Sea Lemon. She has an amazing array of DIY videos. I watched a few of her videos and decided to use the Coptic Stitch method and combine it with her TEXT BLOCK case binding . I wanted to use plain paper from the school as well as some card stock for the covers. The dental floss idea was simply a thought I had because I knew it was cheap, readily available, and had wax on it to easily sew and bind the paper together. There was so much learning in the project. I learned about the history of Coptic Binding, and how it is an ancient technique. The form is perfect for sketchbooks because the final book lays flat. Despite absolutely NO sewing and stitching experience I was able to get the first two signatures bound within 30 minutes, which was REALLY taking my time. All told, the time invested, the learning it provided and the satisfaction of making something certainly made this a worthwhile project. I hope my enthusiasm will rub off on my students when we make sketchbooks this week!

Materials 
I will be using materials for this project that are a little different than on the DIY sites I visited. I will use a corn on the cob holder to poke holes in the paper (awl's cost $30 each!), dental floss instead of waxed thread, white photocopy paper, and 65lb card stock I got at Staples for the covers. Instead of rice glue I'll probably use PVA glue like is recommended, because it is really quite inexpensive. The binding doesn't have to be glued at all so an ordinary glue stick could be used to add the card stock covers.

This project is step one of several in our first project which is to develop a "personal brand" as young designers. Students will get to etch their personal brand into their sketchbooks as part of this ongoing project and introduction to design.


Tuesday, January 29, 2013

Looking for a Few Good Designers

Source: Sketchchair.cc
Last October I was fascinated by the idea of using technology to design and fabricate furniture. I saw a Kickstarter project by Sketchchair that made me think about how furniture is designed. I've never made furniture, but with some investigation into the world of flat pack, ready to assemble furniture I was hooked on the idea. All I needed then was some way to fabricate the furniture, and figure out how to design furniture. A huge challenge.


The big idea then struck me: How can students design and manufacture furniture for a community common space for the public to use and enjoy? 

I then wrote a grant application for Skills Canada and received enough money to buy a CNC machine that could cut out the furniture. It's on order from ShopBot and should be here in a couple weeks. The idea is to allow students to first sketch, analyze, refine many times over, then prototype their furniture models from cardboard by hand followed by thin wood/chip board first on the laser cutter.

The last and MOST IMPORTANT piece is what I'm working on now. I need your help. I don't know anything about furniture design. I want to learn with the students and connect to experts in the fields of design, woodworking, manufacturing and engineering who can give us advice along the way. We are going to employ the design process (check out IDEO's teacher toolkit) as our guide to completing this project and integrate students from my class with those in industrial arts, fashion studies, and our special needs class.

If you are someone who has design experience, who has made furniture, or knows someone who can help us with this project, please get in contact with me!  coolpoolteacher (at) gmail.com.


The Maker Within

Skills, What Skills? 

Over the past year and a half I've developed a serious personal interest in making things. It has come from the realization that as a student of our public school system that preaches to the average kid that they must get a degree to be successful. This was echoed at home, both my parents got degrees, my dad is a adjunct university instructor and is currently working on his Phd in Petroleum Engineering. Not going to university wasn't even a question for me. So in high school I didn't take mechanics or industrials arts, it wasn't seen as a valuable option in the eyes of people around me. I took that advice and stayed away.

Now I'm a grown man and I find that I'm not comfortable doing a lot of handy-work, repairing, installing etc around the house. There is a disconnect between the ideas in my brain and my abilities to execute them with my hands and the tools before me.

Learning From A Community 

It's not all doom and gloom here people. I am fascinated by the maker movement, the idea of fab labs in schools and how students of all abilities can benefit greatly from these environments. Learning by doing is an amazing motto that I've taken to heart. With the internet I can take an idea and almost certainly someone else has done what I want to do (or close to it) and has shared their experiences online, often with detailed how to's with photos and valuable advice. Many people are very candid about this and even share their 'failures' and what they have learned from them. I see mistakes as learning opportunities.


One common aspect of a lot of maker projects is the incorporation of technology. There is something immensely satisfying in using technology to make a design and then make something that you can physically touch, hold and use. Last year I did this by building 2 Makerbots. I documented the entire process (nerd). I made a ton of mistakes, but in the end they are amazing machines to make ideas become physical objects.


Building these machines gave me a lot of confidence to tackle tasks, and in the past 5 months we've acquired a laser cutter at our school that has opened up a ton of options for making in my classroom.


Shiny Machines Don't Equal Quality Learning
I learned the hard way last semester that if the technology is the focus of a project you lose the learning. I knew this was the case, but I was so pumped to use the technology that I actually had to experience that again to remind myself. Students were given a maker project to create a product for a Christmas craft fair. The whole thing hinged on the laser cutter. What ended up happening was the outcomes were not achieved at a deep and meaningful level and I ended spending a ton of time cutting and etching with the laser with students not connected to the project.

Fast forward to the next design project where students had to scrounge materials and use a mouse trap I supplied to make a mousetrap car that had to travel as far as possible down the hallway. No specific technology was the focus. Students make their cars from materials they dug up from home and the school. They put them together in the shop, with duct tape, string, K-Nex, Lego. Some use the laser cutter to make the body of the car, others, laser cut acrylic wheels. Some sketched their plans out and others used Sketchup. The technology was used when it was needed. I found students' were much more involved and focused.

Be wary of the shiny technology people, the latest app, the gadget that seems to be the answer to solve everything. ( I must add a disclaimer here that I'm as big a 'technology whore' as the next nerd so I'm in no way saying that technology shouldn't be used in classrooms. Technology is integral to my program at my school.)

Inspiring Student Makers in Schools.

Bringing the Maker Movements into schools has been talked about a lot over the past couple years. I would argue that it has always been in the many schools in one form or another.  It's only now getting more press. One thing I want to add to the experience of making for my students is an audience, some real purpose, or big problem that needs to be solved. Essential to this is integrating design thinking and the design process as a guide for student to attack these problems. (There's another post brewing for that topic!) 

One of my favourite phrases to tell students is "Hmmmm, I'm not sure, where do you think you could find out about that?" It frustrates students who sometimes want the answer right away. I'm hoping that relentless pursuit of the 'right answer' is something that will fade away, because when you are making there are no right answers. I didn't learn how to build a Makerbot by taking a 3 week course on Wednesday nights. I didn't learned how to use a laser cutter with formal training. I learned as I used them. Yesterday I needed to learn how to cut anodized aluminum for plaques in our school. A colleague took 15 minutes to show me how the foot shear in the IA lab worked and presto! I was cutting sheet metal and was able to take my design and etch it into it within 30 minutes. Pretty cool!  

What I want students to do is to think of their 'final product' as not an ending, but just the most current and likeable iteration of their designs. You might come back months or weeks later to revise it. So with this in mind, in semester 2 we are going to do a lot of making, designing, analyzing, and making some more. 

What are your thoughts about the making in schools?